20170426 Raspberry Pi raspi-config
This is the first post about how I have set up my Pi.
I just write about how I did it. This does not mean I can tell you more or better about it than you can read it in other blogs, but I think I can create some value for you by scratching different topics and there are a lot of things I have already done with my Pi yet.
My aim is to get everything working on my Pi I cannot do on my Ipad, e.g. run Java and Gradle on it to compile my blog and to run my Software CISystem.
Let us start at the beginning.
I have loaded my micro SD card on Windows using Win32DiskImager, on raspberry.org you find documentation how to do it.
Be careful! Check you don't need the content on your SD card anymore!!!
Be careful! Check you have configured the correct drive to not delete your harddisk!!!
FYI : I took the screenshots on the Ipad while using the Prompt SSH client app. Then I have cut away the unneeded top and bottom of the screenshots using the IOS PHotos app.
The first step after I have loaded the Jessie light image to my micro SD card is to start the Pi and log in with
login    : pi
password : raspberry
FYI : maybe you have to type
password : rasperrzwhen using a german keyboard as your image could expect an english keyboard. I am still struggeling with the localisation, but my ssh app on Ipad solves the problem for me.
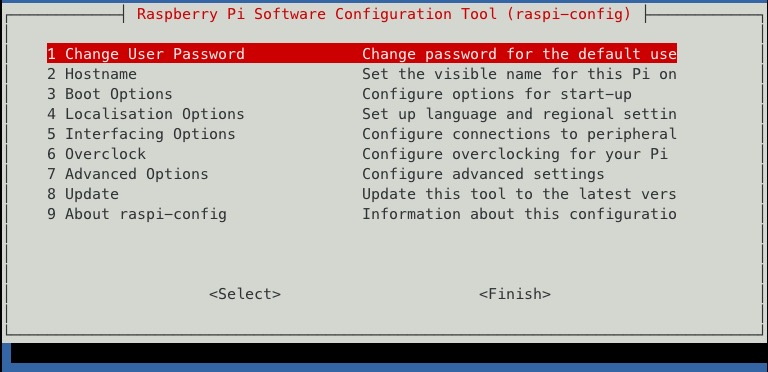
I start
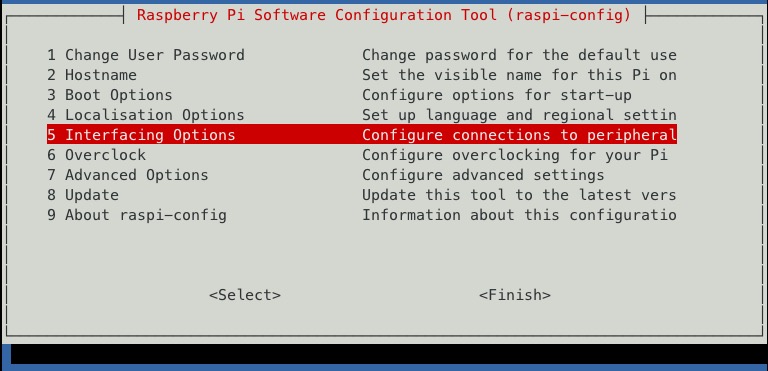
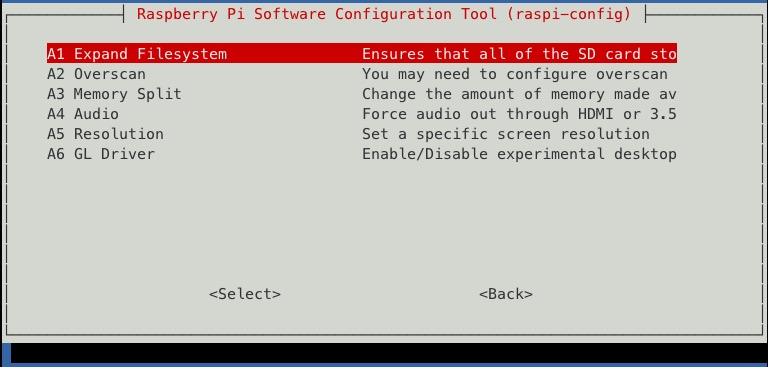
sudo raspi-configto start with the basic configuration. First I change the password.
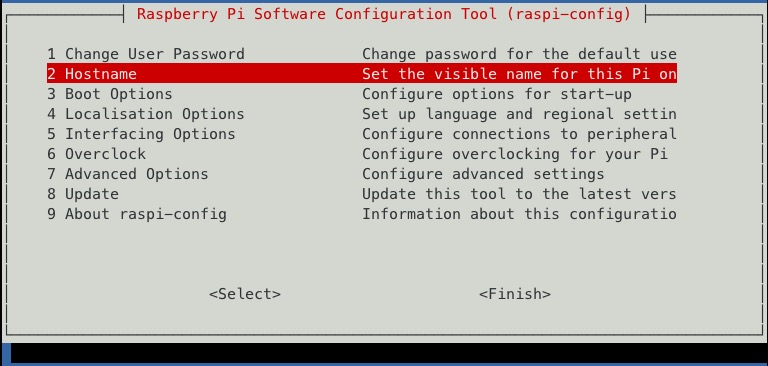
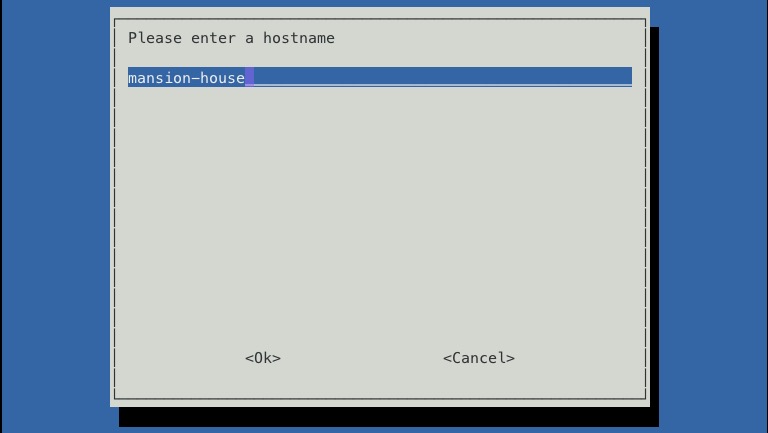
Then I change the hostname to mansion-house as I decided london underground stations as pool for hostnames.
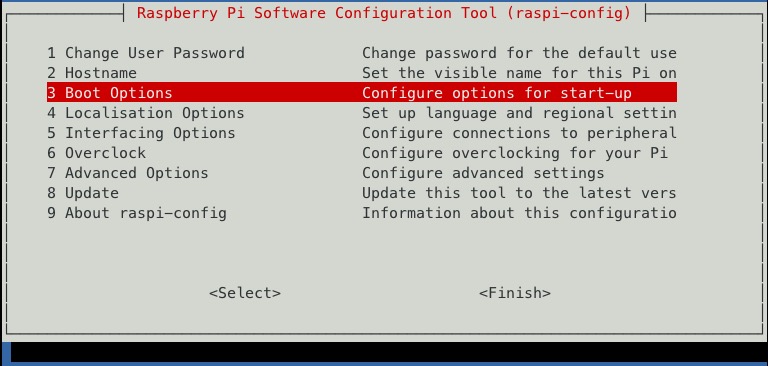
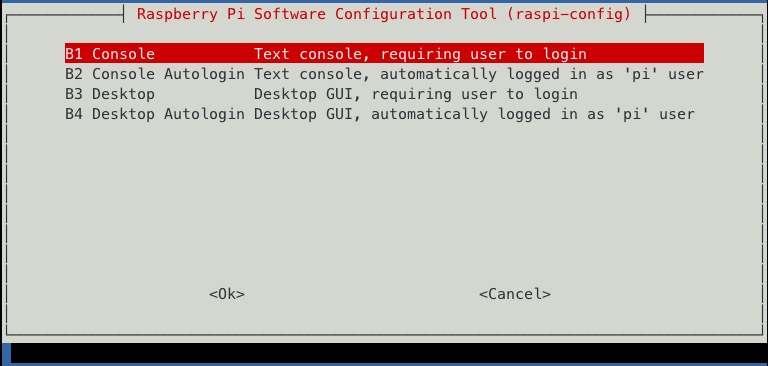
I configure to boot to text console. Jessie light has no desktop installed and I don't need one.
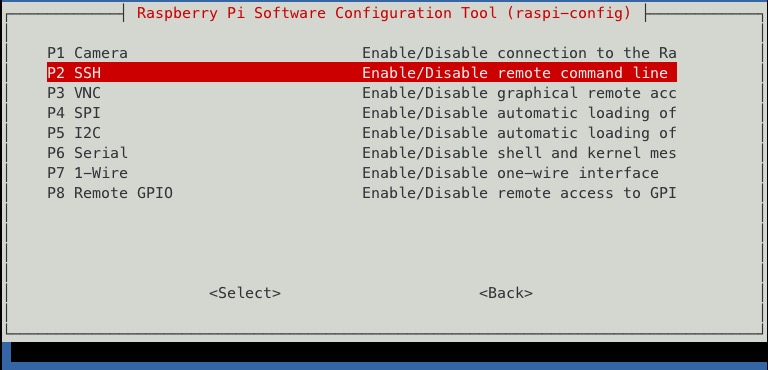
Very important for me is to activate the SSH server on the Pi as I need it to connect from Ipad.
I have a 32GB SD card, much bigger than the image. With raspi-config you don't have to worry about partitioning to use the whole space, just expand the filesystem.
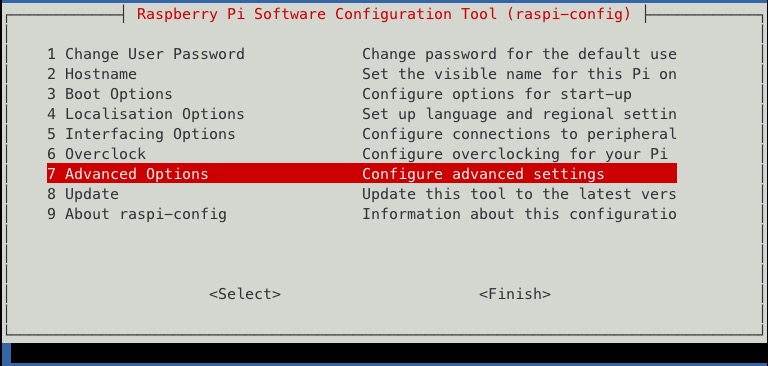
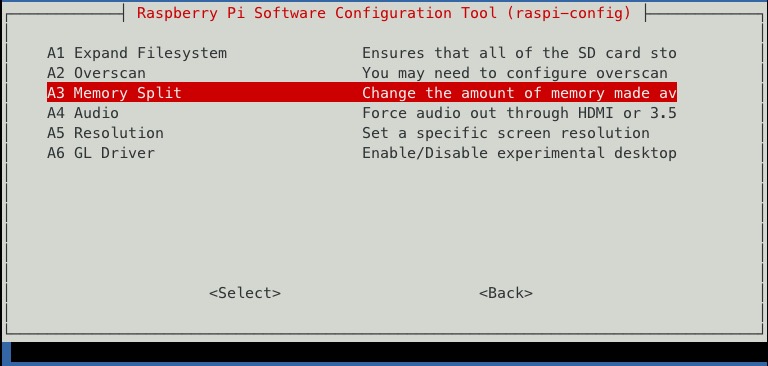
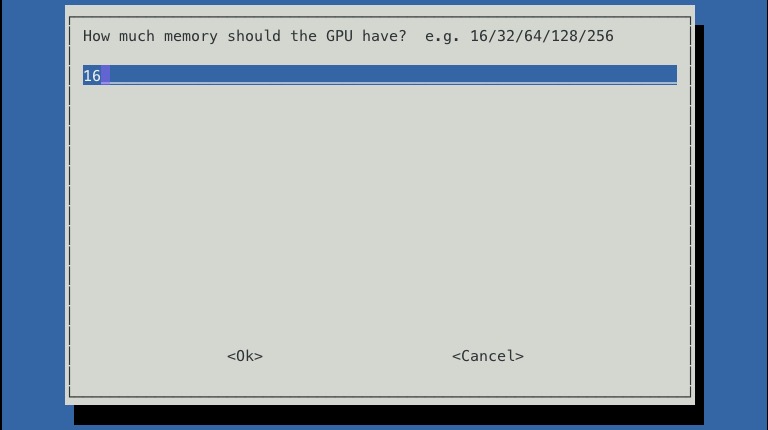
The Pi uses a part of your RAM for the display/GPU. You can configure the memory split. For text console I only need the suggested minimum of 16 MB.
That's it, now the Pi
- is secured with a new password
- has a new name
- has an SSH server running
- uses the full SD card
- uses a reasonable amount of RAM for the GPU
In my next post about how to set up the Pi I explain how I configure the network.
Select where to go ...
|
The Blog
|
|
|
|
|
|
My Technical Blogs
|
|
|
|
|
|
|
|
|
|
|
|
|
|
|
|
|
|
Projects
|
|
|
|
|
|
Blogs Of Friends
|
|
|
|
|
|
|
|
|
CV/About
|
|
|
|